How to Clean CCTV Camera
Wondering how to clean your CCTV camera systems without damaging them? Whether you’re dealing with indoor units or outdoor setups exposed to dust, rain, or insects, proper cleaning is essential for maintaining sharp video quality and dependable performance.
In this guide, you will learn safe and effective methods to clean camera lenses, dome covers, and housings to ensure your surveillance system stays clear and functional year-round.
If you still face any difficulties after reading this guide, you can hire CCTV technicians for camera maintenance to ensure your system is properly maintained and functioning efficiently.
Why Cleaning Your CCTV Camera Matters
Ensures Crystal-Clear Surveillance Footage
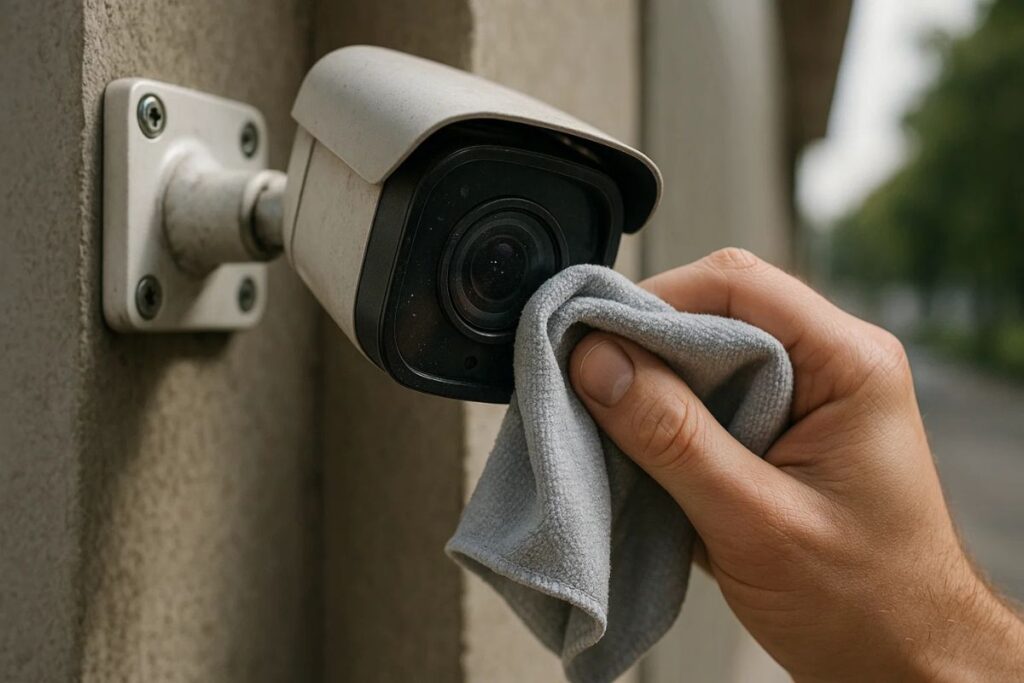
Over time, dust, fingerprints, and environmental debris can collect on your camera lens, leading to blurry or distorted images. A clean lens ensures that you capture sharp, detailed footage critical when identifying faces, license plates, or incidents.
Improves Night Vision and Motion Detection
CCTV cameras rely on infrared (IR) sensors for night surveillance. When the lens is dirty or the IR sensor is obstructed, IR glare or “halo effects” can reduce visibility in low light. Regular cleaning enhances IR performance and helps motion sensors work more accurately.
Supports Consistent, Long-Term Operation
Like any other electronic device, your security camera benefits from proper maintenance. Dust buildup on outdoor housings or vents can cause overheating or reduce the effectiveness of weatherproof seals. Cleaning ensures your CCTV system performs reliably across seasons whether indoors or outdoors.
Helps Avoid Costly Maintenance or Replacement
Neglecting simple cleaning can lead to permanent lens damage, corrosion, or moisture buildup inside dome cameras, all of which can weaken image quality and shorten the lifespan of your system. Routine upkeep protects your investment, prevents costly repairs, and ensures long-term performance. To make smarter maintenance decisions and pick the right equipment for your setup, you can understand which CCTV camera type suits your property through our detailed guide.
When to Clean Your Security Camera
Follow a Regular Cleaning Schedule
To maintain peak performance, it’s important to establish a cleaning routine. Indoor cameras should be cleaned at least once every 2 to 3 months, while outdoor units—exposed to dust, rain, wind, and insects—may require monthly maintenance or more frequent care depending on the environment.
Outdoor Cameras Need Extra Attention
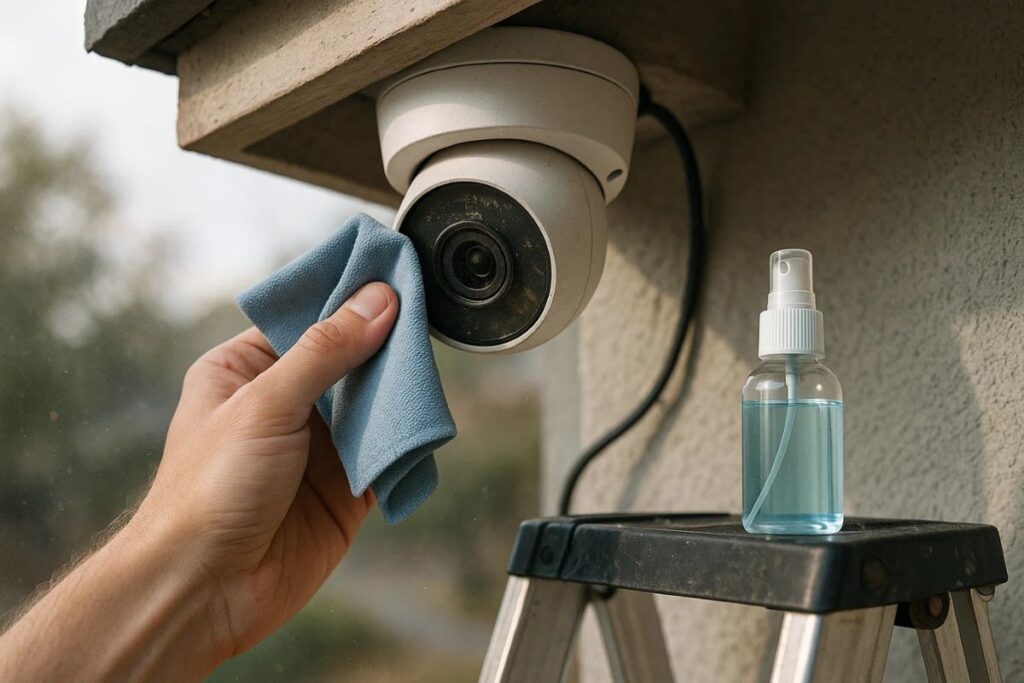
Cameras installed near gardens, parking lots, busy roads, or construction zones are more prone to dirt, spider webs, bird droppings, and pollen. These elements can quickly obscure the lens or interfere with infrared night vision. In such areas, inspect your camera more often, especially after storms or high winds.
Look Out for Visual Red Flags
If your security footage starts looking hazy, washed out, or blurry, it’s likely time for a cleaning. Other signs include white IR glare at night, noticeable smudges or water spots on the lens, or visible dust buildup around the housing. A quick inspection can help determine if cleaning is needed before performance is affected.
Tools You’ll Need
Microfiber Cloth for Lens Safety
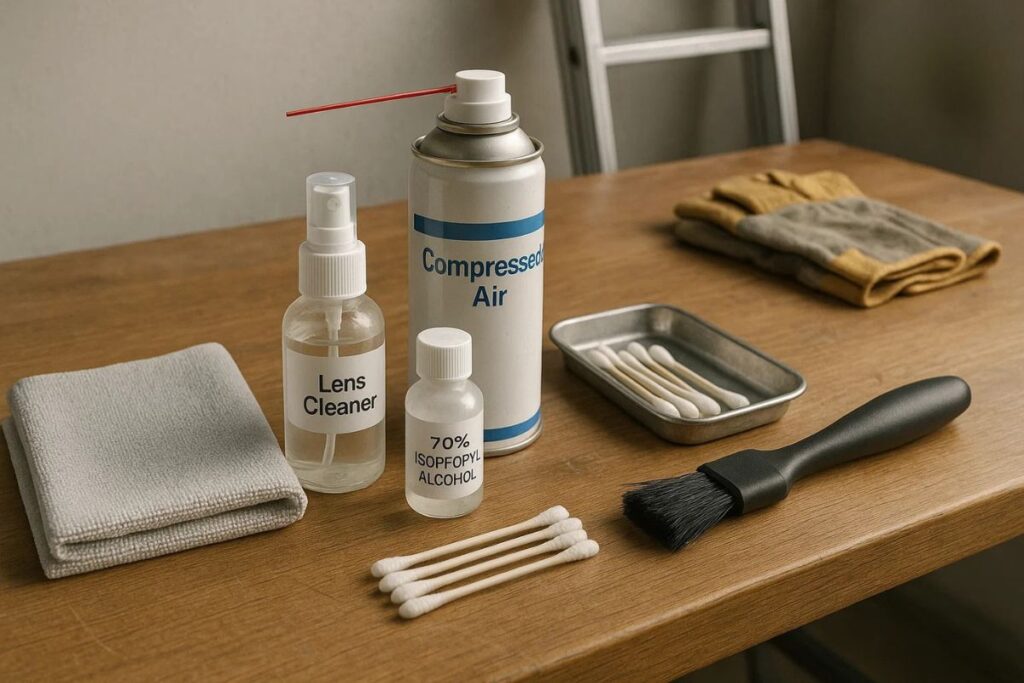
A clean, dry microfiber cloth is essential for wiping the lens without causing scratches. Avoid paper towels or tissues—they can leave behind fibers and may damage the lens coating. A lens-specific cloth is the safest choice for both glass and plastic lenses.
Lens Cleaner or Diluted Isopropyl Alcohol
Use a lens-safe cleaning solution or a diluted isopropyl alcohol (preferably 70%) mixed with distilled water. Never spray the solution directly onto the lens; always apply it to the microfiber cloth first to avoid seepage into sensitive components.
Compressed Air for Dust Removal
For dry dust and debris, especially around buttons, joints, or vents, a can of compressed air works effectively. It helps dislodge particles from hard-to-reach areas without physical contact, which minimizes the risk of damage.
Cotton Swabs for Lens Edges and Gaps
Cotton swabs dipped lightly in a cleaning solution can be used to clean around the lens edges, grooves, and corners where dust often accumulates. Be gentle to avoid pushing dirt deeper into the device.
Soft Brush for Outdoor Units
A soft, non-metallic brush can help sweep away cobwebs, insects, and leaves that build up on outdoor cameras. This is particularly useful for cleaning around the mounting area, weather shield, and housing.
Ladder and Protective Gear
For wall- or ceiling-mounted units, use a stable ladder and safety gloves to access and handle the cameras comfortably. Ensure the ladder is secure and positioned on a flat surface to prevent accidents during cleaning.
How to Clean Surveillance Camera Lens
Proper lens cleaning is essential for capturing sharp, detailed footage. Done incorrectly, however, you risk scratching the lens or damaging sensitive components. Follow these steps to safely and effectively clean your surveillance camera lens.
Power Off the Camera
Before beginning any cleaning, make sure the camera is turned off and unplugged. This protects you from electrical hazards and prevents the camera from reacting to movement during the process.
Remove Loose Dust and Debris
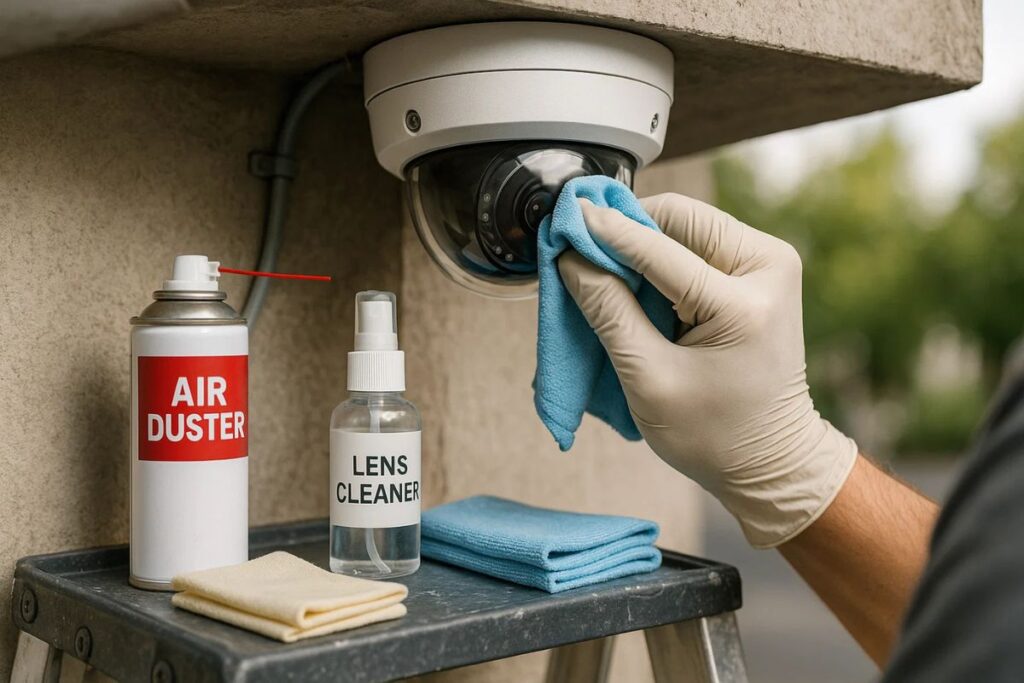
Start by using compressed air or a soft brush to gently blow or sweep away any dust or particles on the lens surface. This initial step reduces the risk of scratching when you wipe the lens.
Apply Cleaner to a Microfiber Cloth
Never spray cleaning solution directly onto the lens. Instead, apply a few drops of lens-safe cleaner or diluted isopropyl alcohol onto a clean microfiber cloth. Avoid soaking the cloth—light dampening is enough.
Wipe in a Gentle Circular Motion
With your dampened cloth, gently clean the lens using small circular motions. Do not apply heavy pressure. This technique helps lift smudges and oils without dragging particles that could cause micro-abrasions.
Dry and Inspect
Use a dry section of the microfiber cloth to softly buff the lens and remove any remaining moisture. Once done, inspect the lens from different angles to check for streaks or missed spots.
How to Clean Outdoor Security Camera Lens
Outdoor CCTV cameras are exposed to the elements—dust storms, rain, insects, bird droppings, and pollen—all of which can degrade image clarity. Regular maintenance not only improves video quality but also prolongs the life of your equipment.
Remove Surface Debris First
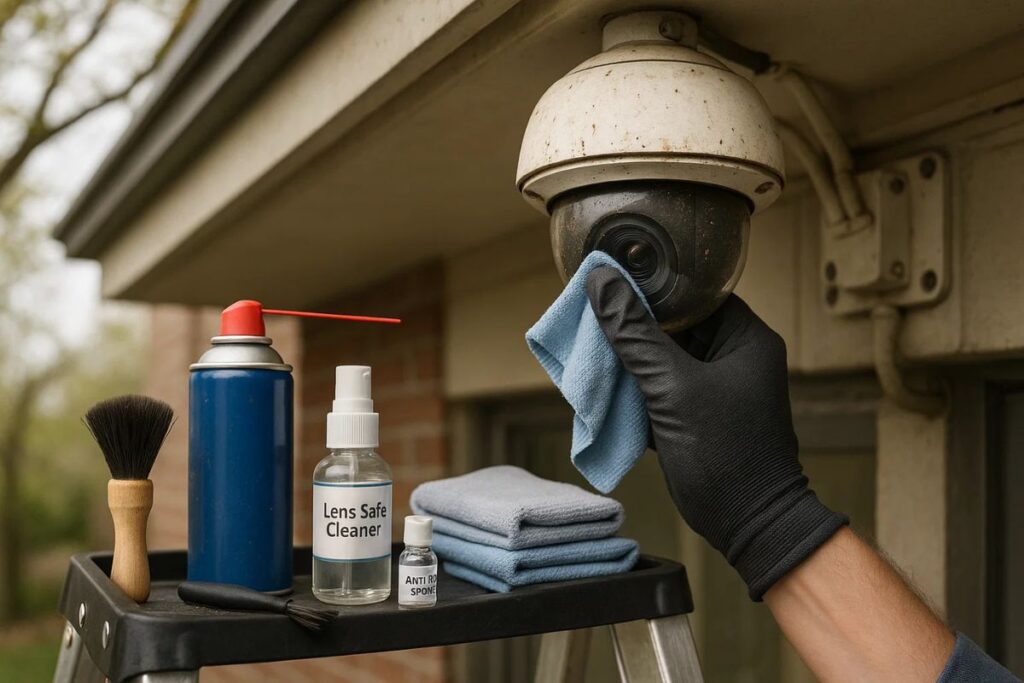
Start by gently brushing off any loose dirt or debris using a soft brush or compressed air. This is especially important for cameras positioned under eaves, near trees, or in dusty environments.
Tackle Stubborn Residue
Use a microfiber cloth lightly dampened with lens-safe cleaner or diluted isopropyl alcohol to clean the lens. Focus on areas with visible stains such as bird droppings, water spots, or pollen buildup. Wipe gently in circular motions to avoid scratching the lens.
Inspect the Camera Housing
Inspect the Camera Housing Look closely at the camera is weatherproof seals and covers. Dirt or mold buildup near these areas can creep into the lens housing and affect clarity. Clean these surfaces with a damp cloth, but avoid getting water near wiring or the lens itself.
Use Anti-Fog Spray in Extreme Conditions
If your outdoor camera is exposed to fluctuating temperatures or high humidity, apply a light layer of anti-fog spray to the lens after cleaning. This prevents condensation that can obstruct footage, especially during colder nights or rainy weather.
Final Check with Live Footage
Once cleaning is complete, power the camera back on and review the live feed. Check for smudges, glare, or missed spots that may still affect the quality. Make adjustments if needed to ensure a crisp and clear view.
How to Clean Bubble Security Camera (Dome Camera)
Dome or bubble cameras are commonly used for both indoor and outdoor surveillance due to their sleek design and wide-angle view. However, their plastic domes are prone to fog, smudges, and static buildup, which can degrade video quality. Proper cleaning ensures maximum clarity and uninterrupted performance.
Carefully Remove the Dome Cover
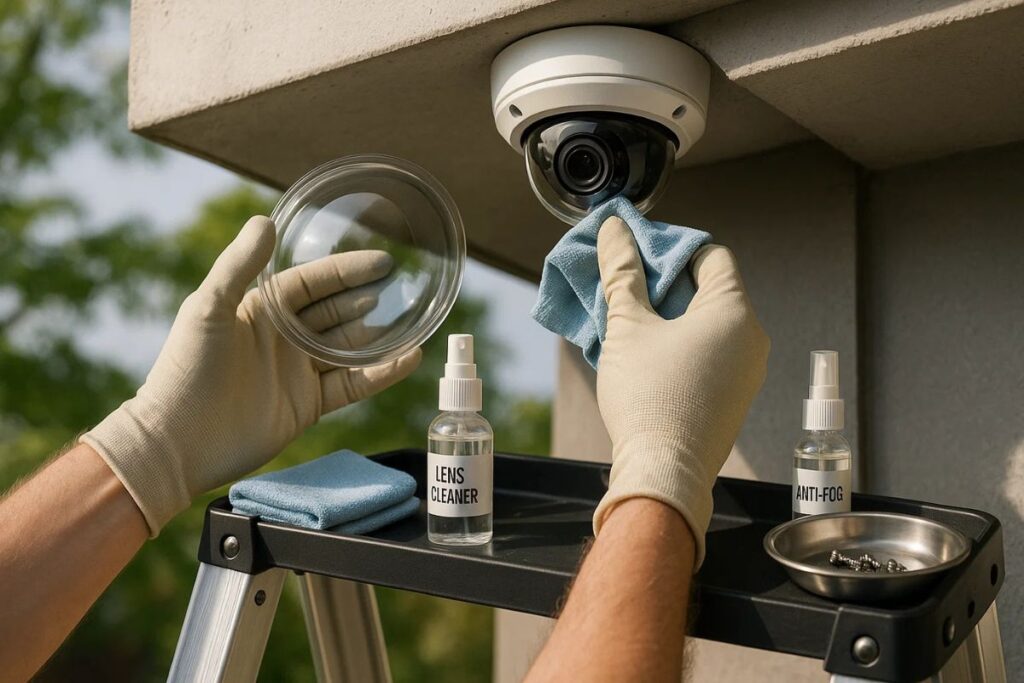
Before starting, power off the camera and, if mounted high, ensure you’re safely positioned with a ladder. If your dome camera has a removable cover, unscrew it gently to avoid cracking or misalignment. Keep track of screws or clips that hold it in place.
Clean Both Sides of the Dome
Use a microfiber cloth and a small amount of lens-safe cleaner to wipe the inside and outside surfaces of the dome. This step is crucial—dust or fog inside the dome can blur the footage as much as external grime. Wipe in gentle circular motions to avoid leaving streaks or scratches.
Apply Anti-Static or Anti-Fog Solution
To minimize future fogging or dust attraction, lightly apply an anti-static or anti-fog spray to the dome surface. These solutions help keep the lens area clear in humid or rapidly changing weather conditions, especially for outdoor dome cameras.
Reattach the Dome Securely
Once cleaned and dried, securely fasten the dome cover back in place. Make sure the seal is tight to maintain waterproofing and prevent dust or moisture from entering the housing. A loose dome can lead to internal condensation or even hardware damage.
Cleaning the Housing and Camera Body
While the lens is responsible for capturing clear images, the camera housing plays a vital role in protecting the internal components. Dust buildup, spider webs, bird droppings, and environmental grime can accumulate on the housing and vents, potentially impacting camera performance or overheating the device.
Wipe Down the Exterior with Care
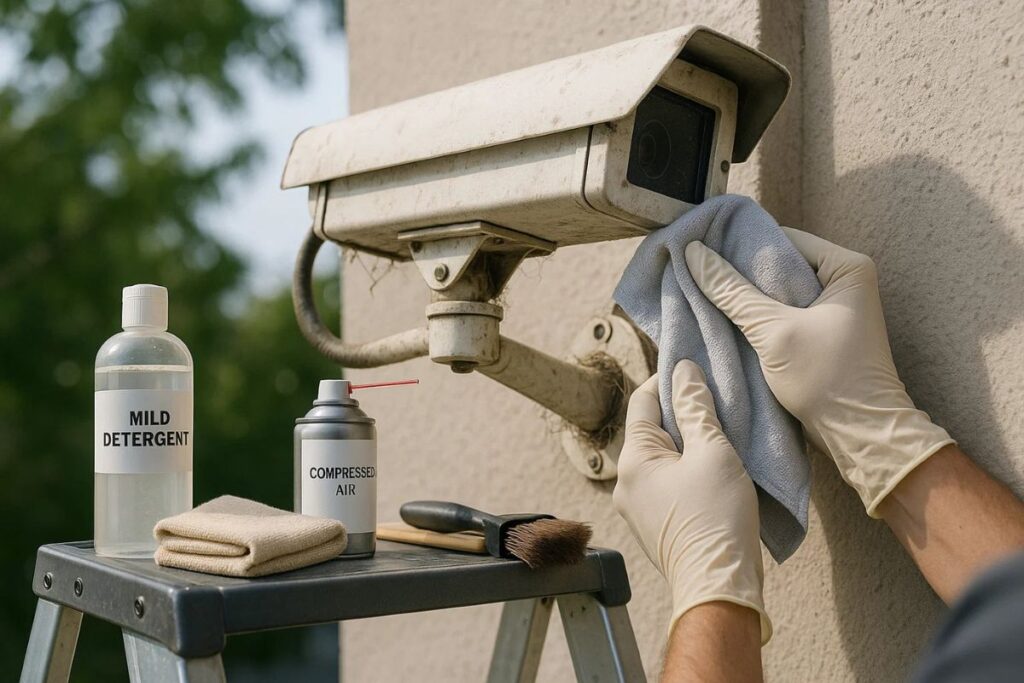
Use a soft, slightly damp cloth to gently clean the exterior casing of your CCTV camera. If the surface has stubborn grime or stains, apply a mild detergent diluted in water to the cloth. Avoid soaking the cloth or allowing any moisture to enter the seams or ports.
Remove Debris and Webbing
Outdoor cameras often attract insects and spiders, which build webs or nests around the housing. These can obstruct the view and trigger false motion alerts. Use a soft brush or compressed air to clean out crevices, mounting arms, and ventilation gaps without damaging sensitive components.
Be Cautious with Cleaners
Never spray water, cleaner, or compressed air directly onto the camera. Instead, apply it to your cloth or swab. Direct application can force moisture into the device, risking short circuits or internal corrosion—especially in units with aging waterproof seals.
What Not to Do While Cleaning
Cleaning your CCTV camera is essential, but doing it the wrong way can cause more harm than good. To preserve the camera’s functionality and extend its lifespan, you should avoid several common mistakes during the cleaning process.
Avoid Harsh Chemicals and Abrasive Materials
One of the most common errors is using strong cleaning agents or rough cloths. Solvents like ammonia, acetone, or bleach can damage the lens coating or cloud up plastic dome covers. Similarly, using paper towels, kitchen rags, or abrasive scrubbers can leave micro-scratches on the lens, degrading image quality permanently. Stick to lens-safe cleaners and microfiber cloths designed specifically for delicate surfaces.
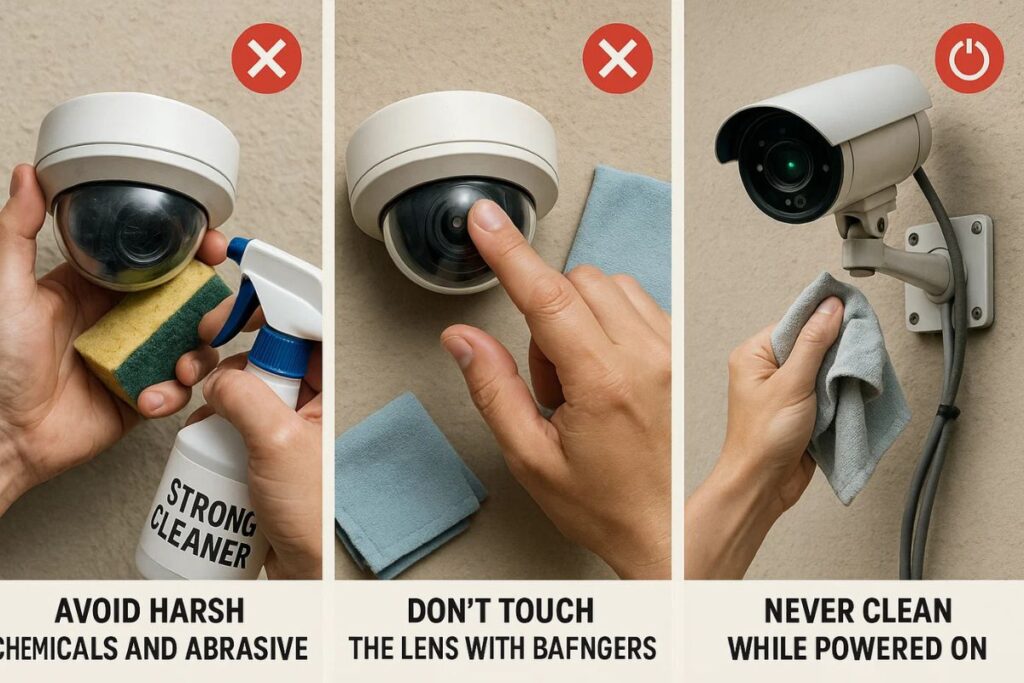
Don’t Touch the Lens with Bare Fingers
Even a light touch with your finger can leave oils or smudges on the lens that distort video clarity. These oils can also be difficult to remove without proper tools and may attract dust more quickly. Always use a cloth or cotton swab when handling the lens or dome interior.
Never Clean While the Camera Is Powered On
Always turn off and, if possible, unplug the CCTV camera before you begin cleaning. Cleaning while the camera is active may result in electrical shock, unintentional movement in PTZ models, or accidental damage if the lens tries to adjust while being cleaned. Powering it down also prevents data recording errors during cleaning.
Post-Cleaning Maintenance Tips
Cleaning your CCTV camera isn’t just about wiping the lens it’s part of an ongoing care routine that ensures consistent performance and longevity. Once you’ve completed the cleaning process, a few key follow-up steps will help maintain clarity and reliability over time.
Inspect for Physical Damage and Loose Fittings
After cleaning, carefully inspect the camera for any signs of wear, cracks, or corrosion especially around mounting brackets, cable connections, and waterproof seals. Outdoor cameras are particularly prone to damage from weather and pests. Also, ensure that all screws, mounts, and casings are tightened to prevent wobbling or misalignment.
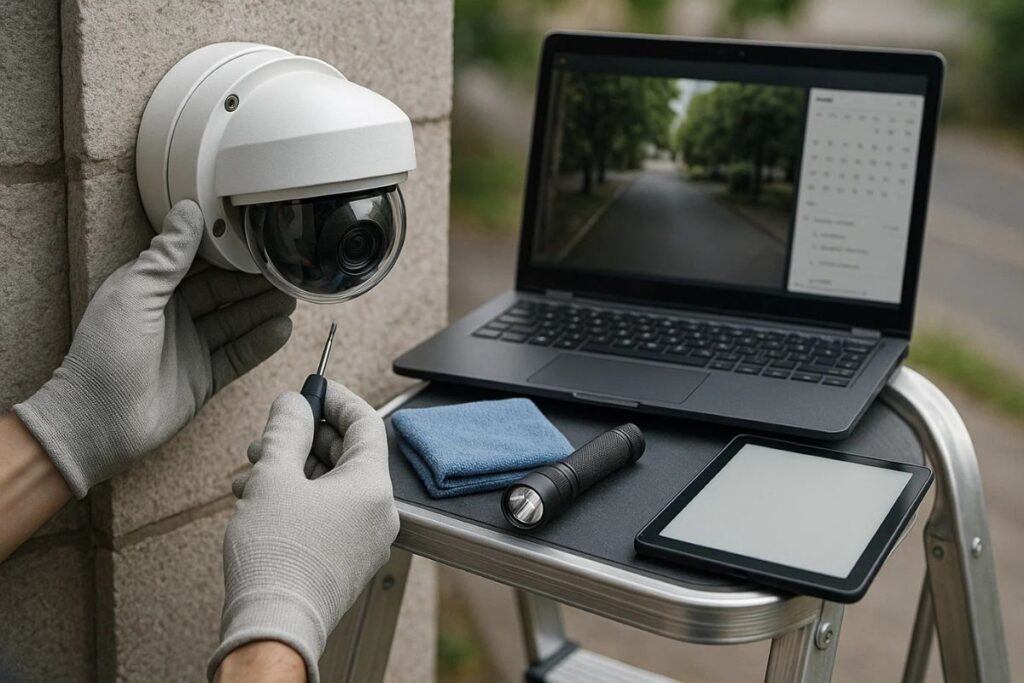
Check the Live Footage for Quality
Once your camera is cleaned and powered back on, open your CCTV software or app to review the live footage. Look closely for any lingering smudges, blurs, or focus issues. This real-time check ensures your efforts were successful and that your camera is functioning properly.
Set a Maintenance Schedule
Routine maintenance is more effective when done consistently. Set reminders monthly for outdoor units and quarterly for indoor ones to recheck and clean the cameras. Seasonal changes or weather events like dust storms, rain, or pollen blooms may require more frequent checks. You can also maintain a basic log to track cleanings, repairs, or part replacements for long-term reliability.

